Hi All,
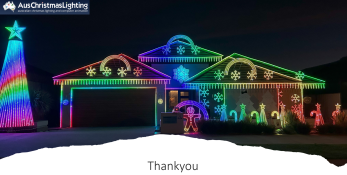
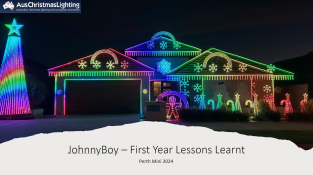
For those who have read my first-year thread (https://auschristmaslighting.com/threads/2023-journey-first-display-for-johnnyboy.15380/), this post might be a little repetitive, but I wanted to make a separate post on all the things I learned in my first year, good, bad, or otherwise. Please share your own experiences about your lighting journey. The photos are from the slideshow I put together for the 2024 Perth Mini held on 8 June 2024.
Intro – I have broken the presentation into two main sections, Thinks I did well and Thinks I've Learnt
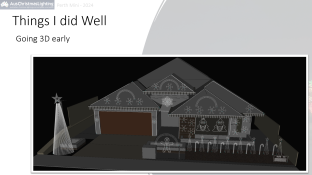
3D – When I first discovered xLights, I thankfully didn’t invest too much time with the 2D option before reading up on the benefits of 3D. I am reasonably proficient in SketchUp and invested a few hours to draw out my house. Very much worth it, and I recommend everyone make the jump to 3D if you haven’t already done so.
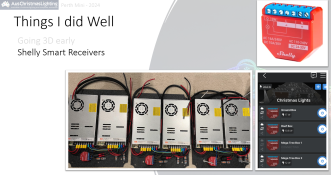
Shelly Smart Relays – Turning your controller boxes on and off is a given, but until I saw someone mention these devices, I planned to use rail-mounted timers. They would have done the job, but this has been so much more convenient. It lets me turn on the whole display from my phone/PC for testing, extending show durations, and modifying programs for start/stop. Highly recommend some type of smart device to turn on your controller boxes.
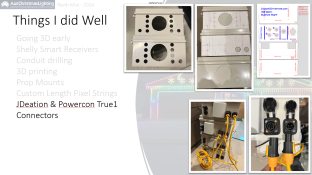
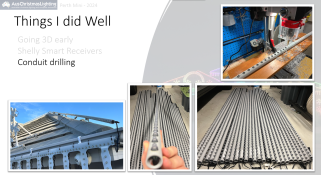
Drilling conduits – This was painful to do, but I'm super happy with the result. It gives a super clean/straight look that I love and is very easy to store and move around. I also made sure each length was 100 pixels long so they are all interchangeable. Just add the custom length extra bit beyond 100 pixels. Going 1-inch spacing might have been overkill though!
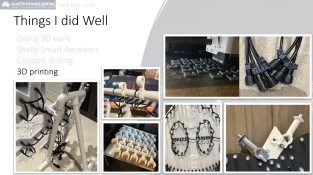
3D printing – I didn’t think 3D printing would be as helpful as it has been. Basically, everything is improved with a 3D printer, from the coro mounts, gutter clips, and cable labels. This year I’ve been printing various controller mounts and making/modifying my own models. Very rewarding and fun addition to the hobby.
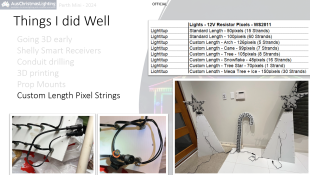
Custom length pixel strings – I go on and on about this, but getting custom anything makes your job so much easier. I knew what I wanted in my display very early and was able to order custom everything for the most part. Being able to order 20 strings of 48 pixels for my stars was fantastic and saved me a lot of soldering as well as from purchasing extra pigtails. I also got 1.5m leads on the start/end of the strings so I didn’t need to use extension cables in a lot of places. This is also well worth the extra money for custom. This year I even managed to get 2-core xConnect power injection pigtails built right into the string.
For those who have read my first-year thread (https://auschristmaslighting.com/threads/2023-journey-first-display-for-johnnyboy.15380/), this post might be a little repetitive, but I wanted to make a separate post on all the things I learned in my first year, good, bad, or otherwise. Please share your own experiences about your lighting journey. The photos are from the slideshow I put together for the 2024 Perth Mini held on 8 June 2024.
Intro – I have broken the presentation into two main sections, Thinks I did well and Thinks I've Learnt

3D – When I first discovered xLights, I thankfully didn’t invest too much time with the 2D option before reading up on the benefits of 3D. I am reasonably proficient in SketchUp and invested a few hours to draw out my house. Very much worth it, and I recommend everyone make the jump to 3D if you haven’t already done so.

Shelly Smart Relays – Turning your controller boxes on and off is a given, but until I saw someone mention these devices, I planned to use rail-mounted timers. They would have done the job, but this has been so much more convenient. It lets me turn on the whole display from my phone/PC for testing, extending show durations, and modifying programs for start/stop. Highly recommend some type of smart device to turn on your controller boxes.

Drilling conduits – This was painful to do, but I'm super happy with the result. It gives a super clean/straight look that I love and is very easy to store and move around. I also made sure each length was 100 pixels long so they are all interchangeable. Just add the custom length extra bit beyond 100 pixels. Going 1-inch spacing might have been overkill though!

3D printing – I didn’t think 3D printing would be as helpful as it has been. Basically, everything is improved with a 3D printer, from the coro mounts, gutter clips, and cable labels. This year I’ve been printing various controller mounts and making/modifying my own models. Very rewarding and fun addition to the hobby.

Custom length pixel strings – I go on and on about this, but getting custom anything makes your job so much easier. I knew what I wanted in my display very early and was able to order custom everything for the most part. Being able to order 20 strings of 48 pixels for my stars was fantastic and saved me a lot of soldering as well as from purchasing extra pigtails. I also got 1.5m leads on the start/end of the strings so I didn’t need to use extension cables in a lot of places. This is also well worth the extra money for custom. This year I even managed to get 2-core xConnect power injection pigtails built right into the string.


