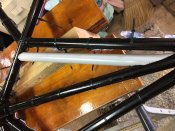
Hi guys and gals,
It's almost complete now, but I was thinking that I should have done a 'how to' make a 20mm conduit star, especially how I cut the joins. I still have part of the jig that I used so I thought that maybe some of you might need some guidance so I would do a short tutorial.
You will need some basic hand tools and a few off cuts of timber etc.
Hacksaw
Handsaw for cutting wood
Cordless or electric drill
20mm or 3/4" hole saw (mine was a cheapy from eBay)
Heat gun (or hairdryer)
Clamps
File
Assorted screws.
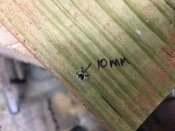
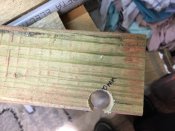
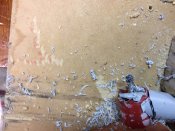
Ok let's make a start. I used a 20mm conduit 'T' for the centre of the star and hole sawed additional holes for the additional vertical and diagonals. I can supply the dimensions if you want them.
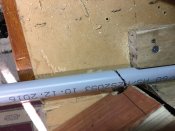
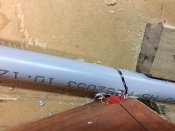
Now for the more difficult pieces. Mark the long shallow angle onto the conduit and cut with a hacksaw. I use my trusty B&D Workmate but just as easy in a vice or clamped to a bench.
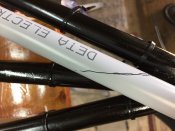
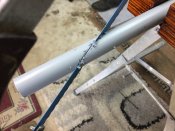
If you require a lot of these angles all the same, which you will if you are making the star, I would mark and cut them all now.
Apply some heat to the cut area, you won't need a lot, PVC has a low softening temperature, once warm and malleable push the cut onto something that is the same diameter as the conduit to form a nice radius.
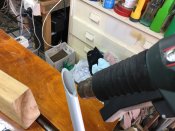
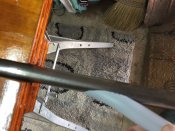
I used a metal handle of a broom, the metal will cool the PVC quickly.
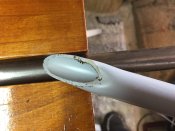
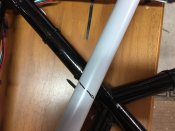
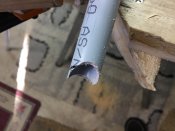
Note in the picture that the cut gets deformed like an indentation, this is a great way to get a good bonding area when you glue it together.
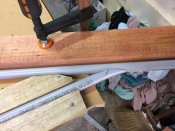
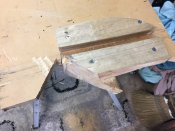
Now to the jig, mine was just a few scraps of timber and MDF that I had laying around, two pieces screwed to the top to hold the part that that you are making, another piece of conduit to set as a length stop so all the holes are in the same place, this could be screwed, but I just clamped mine.
To be continued
It's almost complete now, but I was thinking that I should have done a 'how to' make a 20mm conduit star, especially how I cut the joins. I still have part of the jig that I used so I thought that maybe some of you might need some guidance so I would do a short tutorial.
You will need some basic hand tools and a few off cuts of timber etc.
Hacksaw
Handsaw for cutting wood
Cordless or electric drill
20mm or 3/4" hole saw (mine was a cheapy from eBay)
Heat gun (or hairdryer)
Clamps
File
Assorted screws.
Ok let's make a start. I used a 20mm conduit 'T' for the centre of the star and hole sawed additional holes for the additional vertical and diagonals. I can supply the dimensions if you want them.
Now for the more difficult pieces. Mark the long shallow angle onto the conduit and cut with a hacksaw. I use my trusty B&D Workmate but just as easy in a vice or clamped to a bench.


If you require a lot of these angles all the same, which you will if you are making the star, I would mark and cut them all now.
Apply some heat to the cut area, you won't need a lot, PVC has a low softening temperature, once warm and malleable push the cut onto something that is the same diameter as the conduit to form a nice radius.


I used a metal handle of a broom, the metal will cool the PVC quickly.

Note in the picture that the cut gets deformed like an indentation, this is a great way to get a good bonding area when you glue it together.
Now to the jig, mine was just a few scraps of timber and MDF that I had laying around, two pieces screwed to the top to hold the part that that you are making, another piece of conduit to set as a length stop so all the holes are in the same place, this could be screwed, but I just clamped mine.

To be continued


