info on making window frames for pixels

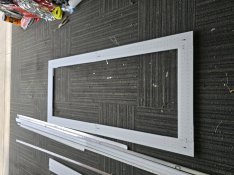
I was trying 1/2 inch pipe but am going to try the 3/4 which will be 1 inch outside diameter as suggest
Need to improve the jig I am using so I can get the holes centered in the pipe
We have had two weeks of below normal cold weather and the garage— my work space— is not heated
Which is not helping with my concentration
 
Adding in the 12mm shaft to slide the first hole onto really helped my jig and stopped the conduit rotating. Drill front and rear of this hole to 12mm whilst doing the others, and then enlarge the rear afterwards.
I drilled through all holes with a small (3mm / 1/8") bit initially to mark the front and rear/ The step bit then used those as guide holes to enlarge out to 12mm front / 18mm rear.
It was more work on the drill press, but the concept worked well and I was happy with the result.
 
I admit this is not for a window frame, but for my roof outline I used 20mm conduit and seed pixels mounted with 3d printed clips every 5 seeds. I used another 3d printed clip with magnets to hold it on the metal colourbond roof. Withstood 6 weeks of FNQ weather although some of the clips were a little brittle at the end of the season. Super easy to make and install.
 
A bit different from you guys but i had some corro cut to my window opening size and pushed pixels through. (i currently use twinkly)

super easy once setup take 5 minutes to put up all 4, and looked fantastic.
 

Attachments

  • 20241106_142901.jpg
    20241106_142901.jpg
    911.1 KB · Views: 30
  • windows.png
    windows.png
    694.9 KB · Views: 27
I agree that the way you did your window frames looks good
I gave up on the idea of drilling holes in pvc just did not work for me even though others have had success
I am going to us some window trim I ordered from Boscoyo
However going to adapt some Coro pixel poles to make my verticals on the ends of the house
Which may be 2 or 3 rows of pixels thick
 
Back
Top