aimbrunone
Apprentice elf
- Joined
- Jan 19, 2024
- Messages
- 61
I’m using the 36v Meanwell to better power the amp I’m using. This amp has a bit more power and the recommended volts was, I believe, 24v-50v.
Follow along with the video below to see how to install our site as a web app on your home screen.
Note: This feature may not be available in some browsers.

This is the timer relay I used https://www.amazon.com/JESSINIE-Tri...delay+timer+control+off+switch,aps,367&sr=8-3Thanks for your patience!!
Ok. I’m going to get the buck converter and drop down to 12 or even 24. Found this item. https://a.co/d/027SHjCc
I also found this DPDT solid state relay. https://a.co/d/0e0FsZyd
I can override the push button by using this SPDT switch. https://a.co/d/0d8YAFWP
This is the push button relay I found for 36 v. https://a.co/d/0hgDYgcT
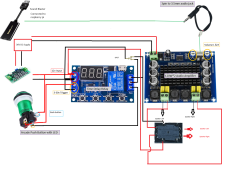
Will these products work as you described in your diagram?

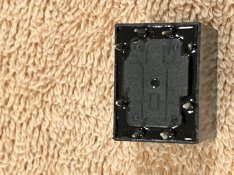
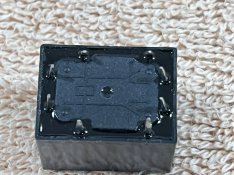
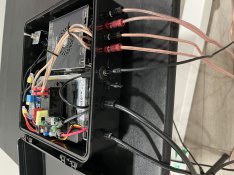
Finally received the dpdt yesterday! Terminals look a bit different from the diagram you posted. Would you be able to help? Here is a pic of the dpdt.Found it! Sure called Latest Buy!
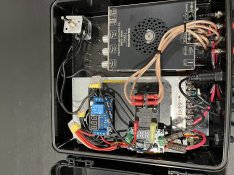
Yes!!!! We are up and running correctly! Now, just need to put it all in a box! lol. Thanks so much!hope this helps