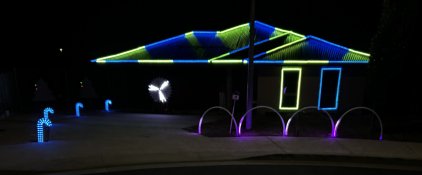
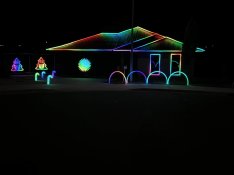
G'day from Tassie

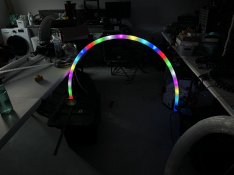
First up my arches. I actually hate them. The HDPE is great, but the feet I tweaked for my needs are awful - I suspect because I'm bad at 3D printing.
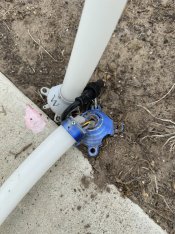
IMG_3270.jpg

I had constant issues with snapping, sealing, and (I also hate LED strips) with poor soldering/lost pad connections. In hindsign, I also should have put a dab of glue or something on the back of the strips - I don't think it's obvious in my video (or in person for normal people), but for me the twisting in a couple of the arches was incredibly obvious and frustrating. I spent many hours trying to get these siliconed, clamped, drilled, screwed and broadly functional, and they were really held together with hopes and dreams. I originally planned 8, but scrapped down to 4 due to time constraints.

All that said, they did end up looking pretty good. Big thanks to @LawrenceDriveLights for making the point of groups of 4 - once I got to sequencing, having a group of 4 made my life so much easier!
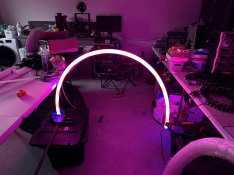
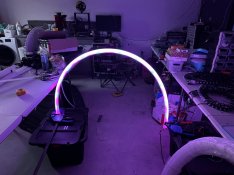
IMG_2186.jpgIMG_2184.jpgIMG_2194.jpg
 
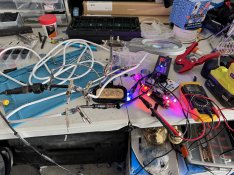
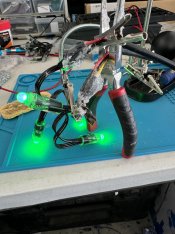
Next up soldering - I can see why people end up ordering custom lengths.

I'm happy to report my soldered lengths and custom data and/or power extensions (and there were many of both) all held up extremely well in all sorts of weather. I ended up silicolning and heatshrinking invidividual wires, then heatshrinking (usually) over all 2/3 wires, then siliconing the outside and trying to make as good a seal as I can - seemed to do the job, but very time consuming.

IMG_2304.jpgIMG_2400.jpg


My power boxes worked extremely well (using ESP32s over wifi without external antennas) and I ended up running the whole show off three controllers with room to spare. I'm not sure if it comes through on the video, but I could have used a little bit of extra injection on the right side of the roof and on the closest to camera candy cane, but overall this went pretty swimmingly. I switched to running cut in half jumper cables on the 3.3.v to 5v data converters, and did follow through with my plan of running 3x 25A cable into the fuse box to distribute evenly. Nothing ran too hot, but I never got time to measure full draw.

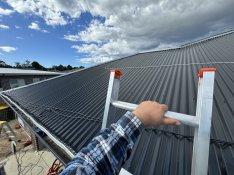
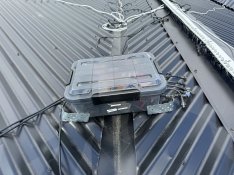
Here's a picture of my roof box up on the roof with just a couple of make-a-brackets held in by roof screws to hold it.

1704669985037.jpeg1704669991502.jpeg
 
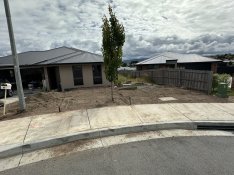
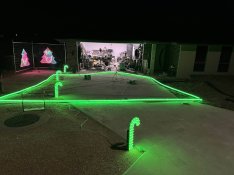
Not too much else interesting to show. I ended up laying out 1:1 across my driveway/lawn my roof line. Getting this right was by far the most time consuming part. Oh, I also had to landscape my front yard so it wasn't a big hole, so that sunk a few days too.

IMG_2212.jpgIMG_2536.jpg

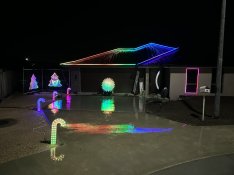
Getting the first piece of roofline up was incredibly satisfying, so much that I was happy to go out in the downpour once it was dark to snap a pic!

1704670216327.jpeg

The reflections actually make it look pretty cool!
 
A few other points of miscellany:

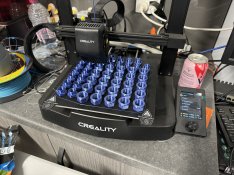
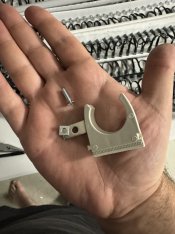
1. 3D printing caps was a great idea, but we never quite got the sizing right. We were able to force them on though, but I want to tweak these and put out a file later in the year.

1704670304680.jpeg

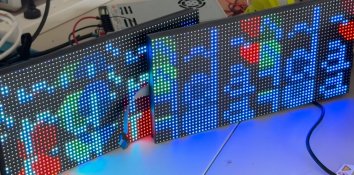
2. I bought 4x P5 panels to do a "tune-in" sign, but never quite got it right, I wired it up to an ESP32, but I always got overdraw - the same thing being sent to two seperate pixels. Here's the Adafruit tester pattern, you can see the word in there twice. Not too worried about this, ended up ditching it and will make another post about it at some point.

1704670388008.jpeg

3. My roof clip design ended up working very well. Even in strong winds and rain, the chromatrim didn't shift at all. I'm not the happiest with the straightness of my roof line, but again it looks okay in video (and people were happy in person) and I know how I can improve this year.

IMG_1872.jpg


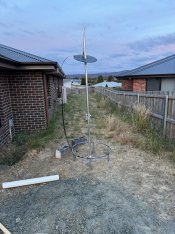
4. I ditched the megatree. I didn't have the engingeering chops - or more importantly the time - to get it done in time. This year I have plans, but I was T-2 days to show day with 0 songs sequenced, a big list of solders to sort out, and at this stage in the tree. Unfortunately it had to go.

IMG_2263.jpg
 
the same thing being sent to two seperate pixels. Here's the Adafruit tester pattern, you can see the word in there twice. Not too worried about this, ended up ditching it and will make another post about it at some point.
This will be due to the fact they are 1/32 panels with a 1/16 signal. The scan lines don't match.
 
The last 48 hours before my first show, I slept a total of 4 hours, and was still sequencing 20 minutes before show time. I lent heavily on the Google Drive - thank you to everyone who has put up free sequences there. Given the trial by fire to sequencing approach I took, I couldn't have done it without you.

Most of my songs are semi-direct maps, although some were so different in elements or just didn't suit what I needed enough that I had to gut them completely. Autolyrics was the sole reason I was even able to run my singing faces at all, and given how much was in the last few hours, I hit their rate limit a few times. I really liked sequencing, and I've started on a few songs of my own I plan to share for free.

I also heavily utilised ChatGPT in scripting the 6 dialogues "Pinky" (my 10 year old) and "Whitey" do, and thankfully I have good quality recording equipment. This was all scripted, recorded, cut and synced in the 8 hours before show 1 😅.

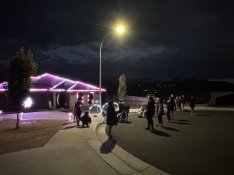
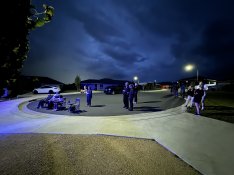
A massive thanks to everyone who came out and who made this even possible for me.

IMG_2853.jpgIMG_2972.jpgIMG_2976.jpgIMG_3011.jpg
 
Great to hear you got a display up and running in your short time frame.

This will be a great platform to grow on for this year.

Regarding your arch bases, I would recommend looking at using some simple 25mm PVC Tee 3 Way T Conduit and a cross bar rather than the 3D printed bases.

There a couple of great build threads on arches for inspiration.

What size Megatree was you considering, if 32 strands I would consider looking for a larger base
 
You have more people in front of your show at one time on your first day than I have in 3 years!

Good job on all the hard work and getting up and running.
 
Hey Whitey, where in Launceston you based? I’m keen to come have a look at this year’s display!
 
Back
Top