Mounting rgb strips around window frame outline

tuppetsdad

Funding & Tech Support
Joined
Oct 5, 2010
Messages
549
Location
Melbourne
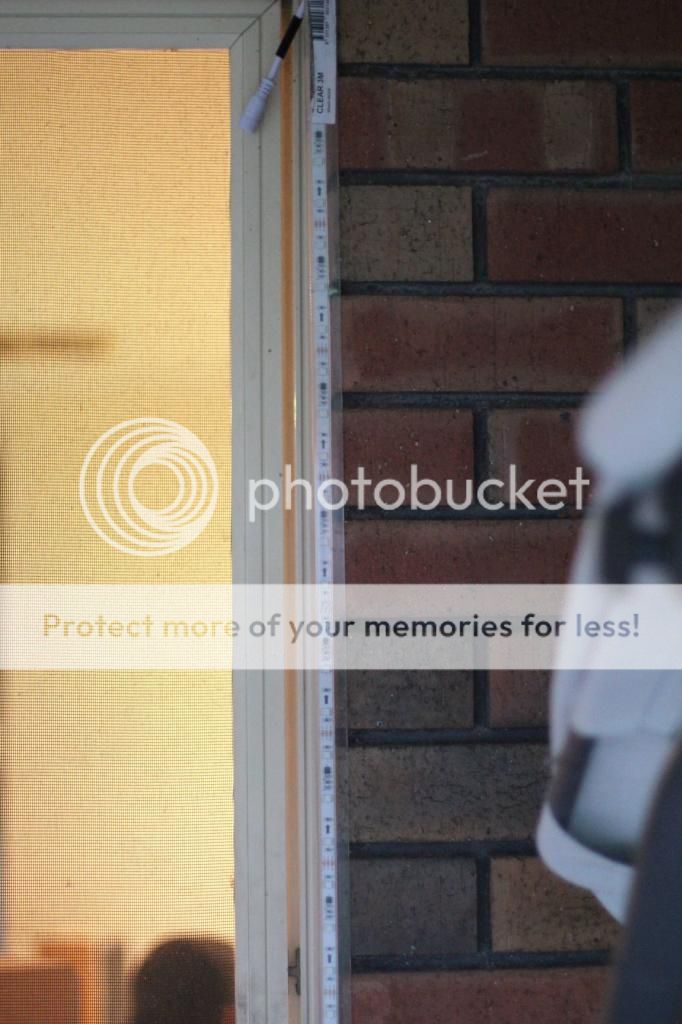
Tuppet and I mounted our RGB strips today. The endcap was still installed from last year so simply slip into the slot and all done in 1-2 hours. Oh they are nice 8)
 

ryanschristmaslights

Senior elf
Administrator
Joined
Jun 30, 2010
Messages
951
Location
Adelaide, Australia
Got anymore close up pictures of the endcap installation during the day time for us all? ;)

Debating whether some heavy duty velco (if it comes in white?) would do for allowing the window border endcap to be installed/removed each year. Else I may have to drill into the mortar of the bricks.
 

anon

Apprentice elf
Joined
Dec 30, 2011
Messages
95
Location
Adelaide
Mounting Hardware
- The venerable End Cap (cut to length)
- 1.5x10mm rare earth magnet discs (for magnet to magnet)
- 3x10mm rare earth magnet discs (for magnet to metal)
- 3x10mmx20mm rare earth magnet discs (for magnet to brick clip, gives wiggle room for tolerances)
- Araldite A/R
- Weather strip (8mm widex6mm high?), cut in 60mm segments A/R
- 2x Anything 9mm high

Construction Process/Tips
1. Measure gaps between mortar joints if securing to brick clips. These are close but not standard.
2. Mark measurements on the end cap to align magnets with brick clips. If hanging the entire 3m strip on a gutter, I've used 30cm in from the ends and one in the middle. 2 will easily hold it up, but 3 helps to minimise sag.
3. Mark centre line on the magnet to help alignment to end cap marks. If marking on the top of the magnet stack, this also ensures all magnets will have the same polarity (if ever to change to magnet to magnet).
4[SIZE=78%]. [/SIZE]Place a SMALL/THIN amount of araldite on the magnet and adhere to the end cap on the small edge. Push and jiggle the magnet so it bonds up against the end cap, aligning the marks. Too much araldite and the magnet will slowly slide down the small incline. Let bond for a day.
5. Determine weather strip placement. I found on either end and one in the middle is ample.
6. Use 2 spacers to spread the end cap either side of position of the weather strip. The weather strip is very sticky and doesn't like being removed when stuck, the spacer allows the strip to be aligned first.
7. Place weather strip into position, remove spacers and press down.
8. Insert strip, it's not going anywhere, sliding up or down, or out the strip. And by HoHoHo or by design (I like to thing the latter), the weather strip also leaves a neat route for a single CAT5/security cable behind the strip for power injection.

Notes:
- Connectors below have heat shrink inline, yet to be shrunk around connector tail and strip tubing.
- I'm convinced these brick clips could be made easily with some corrugated iron. They are overpriced for what they are
- Clips secure very firmly against bricks. They way installed in the photos they can move a bit but will take a lot to let go.
- Discs are shown below, but would be a lot more comfortable with longer blocks. Currently there are only 2 magnets on these 2m segments, but will be adding a third in the middle as there is too much flex. Further segments will all be using blocks.
- I have 1m strips under steps. Magnets are adhered to the understide of step lips using a dab of liquid nails.
- Once the clips or magnets on the permanent fixture are in, the strip just snaps in effortly, locating itself into place everytime.
- As pointed below, magnets against a painted gutter could scratch it, I like the idea of the heat string over the magnet, then adhering this to the strip, if worried about paint being marked.


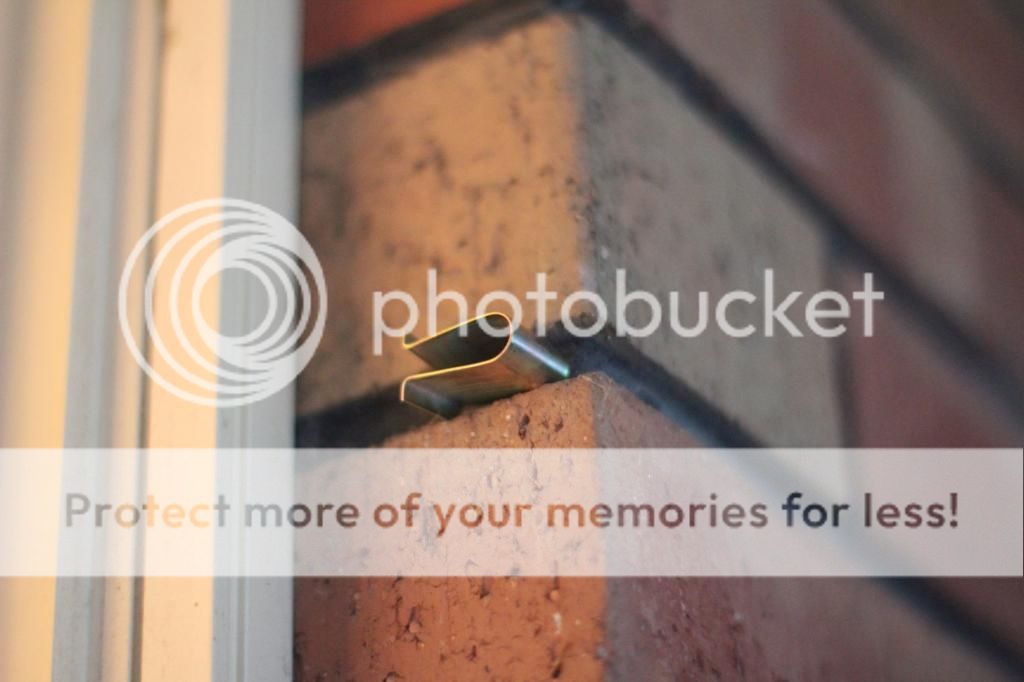
Brick Clip, recessed from edge to allow the endcap thickness:
IMG_3205_s_zps8df8ed4b.jpg


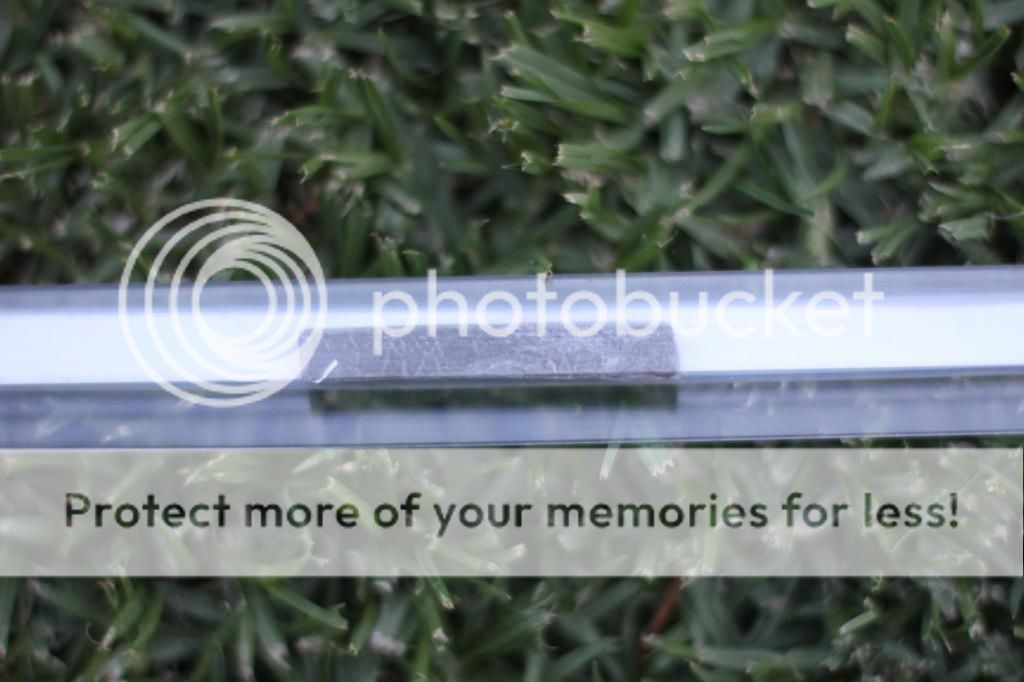
Magnet Araldited to End CAp:
IMG_3206_s_zpsf114b301.jpg


Weather Strip in middle:
IMG_3216_s_zpsc7824806.jpg


Weather strip at end:
IMG_3218_s_zps4eea3f4a.jpg


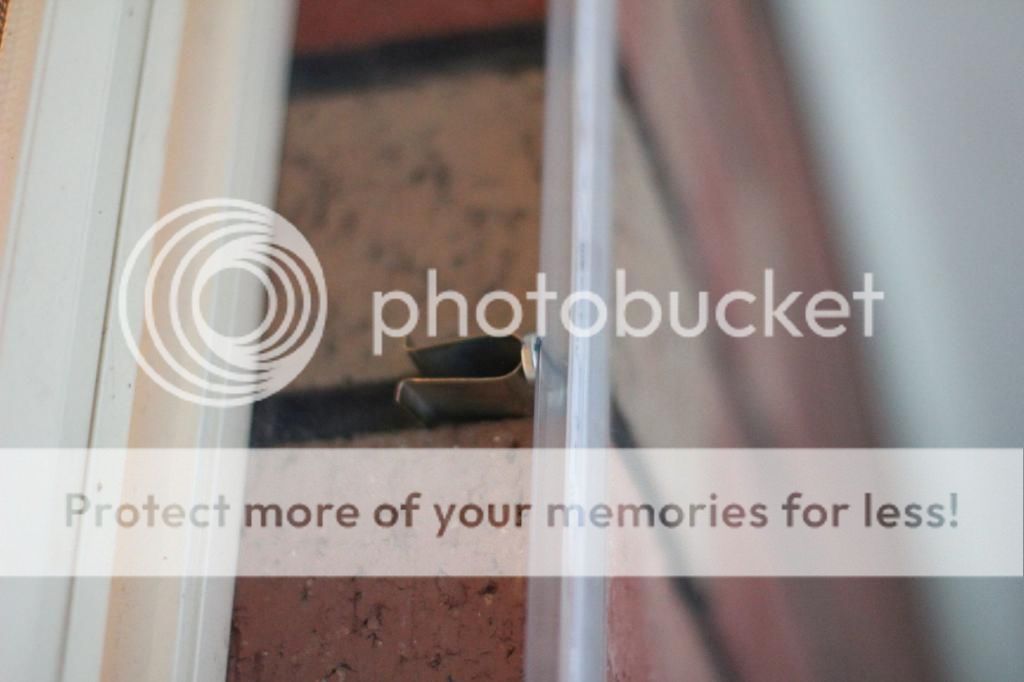
Assembly attaching to brick clip:
IMG_3212_s_zpscd94887a.jpg


Assembly attaching to brick clip (flush with bricks):
IMG_3214_s_zpsf8e0e650.jpg
 

ryanschristmaslights

Senior elf
Administrator
Joined
Jun 30, 2010
Messages
951
Location
Adelaide, Australia
I have gone with a combination of endcap and velcro dots for mounting. The magnet trick sounds great where the mortar does leave a bit of brick to grip on to.

I have a photo of some strip attached to the bottom of one of the windows on my website (also have it installed to the sides and top) and you can barely tell it is sitting in the Endcap.
 

burner

Full time elf
Joined
Nov 2, 2011
Messages
315
I've gone the 25mm conduit with elbows around the inside of the window frame (congrats to Bunnings for being the most useless of re-stocking their shelves for elbows and end caps in 4 different stores). I used a mounting sadle on either side of the window (in the centre). The bottom has a saddle (on the top window) and the downstairs window (where the conduit comes across 2/3rds of the way down I drilled a tiny hole in 2 points and cable tied it in.

The conduit on the top was more tricky. For this, I used double sided tape to hold the conduit into position, then liquid nailed the sadle in the centre to the steel lintle. The plan is to leave the conduit in the window frame permanetly (I've painted it the same colour as the window frame, so barely noticeable), and then just cable tie the end cap to the conduit each year.
 

David_AVD

Grandpa Elf
Community project designer
Generous elf
Joined
Jun 12, 2010
Messages
4,682
Location
Victoria Point (Brisbane)
anon said:
Brick clips:
700002A_m.jpg

The are cheaper than when I bought mine originally, but still expensive for what they are. I'm sure some tin snips and bending of corrugated iron would provide a similar result.

Can you tell me where you bought these brick clips from? Thanks.
 

anon

Apprentice elf
Joined
Dec 30, 2011
Messages
95
Location
Adelaide
Sorry, didn't see your request in this thread!


Yeah this is very annoying, I was planning to use a few more as anchor/looping points for my cable runs and had to change things slightly given they're out of stock and no longer being carried. Seriously at $1.50 each for for a bit of spring metal is already overpriced, no wonder they can't take on further price increases.


I also tried bending up some galvanized sheet, it holds tension for a little, until the force makes it bend and it gives. It could be used to loosely hold something against a wall that is already supported, but not as the main support.


Another option would be some big bulldog clips, cutting the lip and bending it up half way. They certainly exert enough force to hold themselves in place.
 

Randytenn

New elf
Joined
Jul 21, 2012
Messages
3
Sorry I'm late to the conversation. We mounted our RGB strips to long pieces of metal frame we found at Home Depot. The frame is used to make screen enclosures, and it is the perfect width, weight and length. We built square frames with screws in the corners, so we can collapse the frames down for storage. The frames are hung on 3m hooks, which amazingly stick very strongly to stucco. There are a couple of photos on our website, http://www.lakenonalights.com.


We also used straight sections for the roofline, installed small coat hooks to the frame, attached icicles, and hooked the hooks over the gutter. They've held very well.


I think that our RGB strips is what really makes our display.
 

ShellNZ

Senior elf
Joined
Jun 17, 2012
Messages
892
Location
Karaka, Auckland, NZ
Hands up who thinks its safe enough to take the strip off after the season and roll it back up? Not on the actual spindle it came on (biffed them) but just in a relatively loose bundle in a bag.
 

burner

Full time elf
Joined
Nov 2, 2011
Messages
315
ShellNZ said:
Hands up who thinks its safe enough to take the strip off after the season and roll it back up? Not on the actual spindle it came on (biffed them) but just in a relatively loose bundle in a bag.


I was thinking of leaving mine in the c-cap strip, still attached to the conduit in straight lengths. I didn't stick the elbows together, so they should come apart easily enough, and this way they have less chance of being damaged at the joins in the strips.
 

mrlightmadness

New elf
Joined
Dec 18, 2012
Messages
10
Location
Piedmont SC
love the idea of the clear weather strip to mount the lights in. Went to Lowes today found weather strip but of course not in clear. White, grey and a tan. Which wont work. Any cheap places to buy online and ship to United States?
 
Top