tuppetsdad
Funding & Tech Support
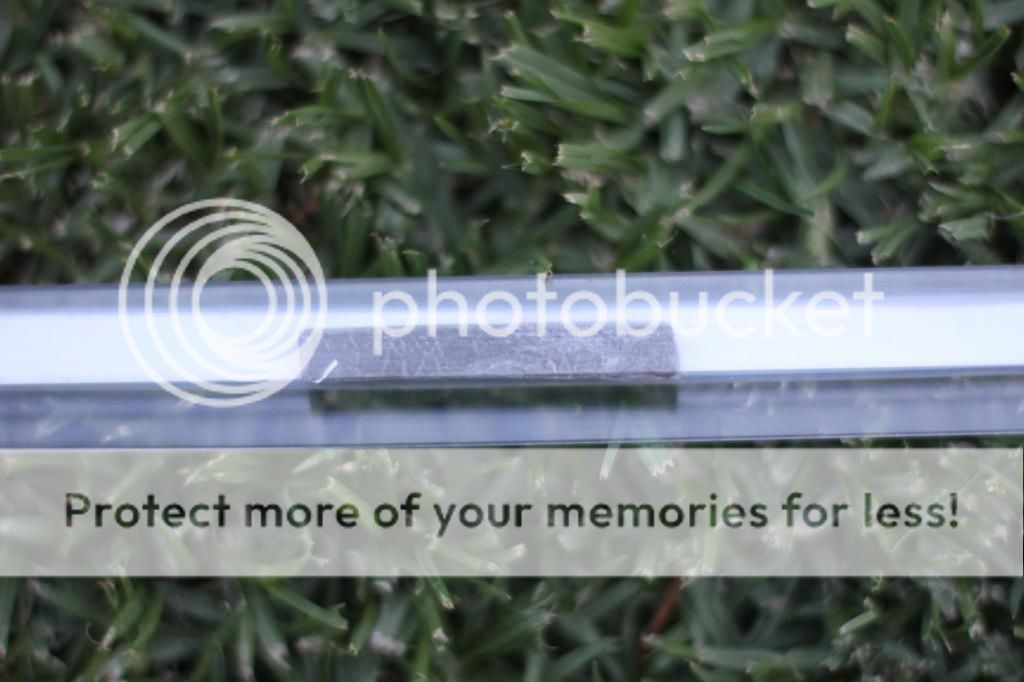
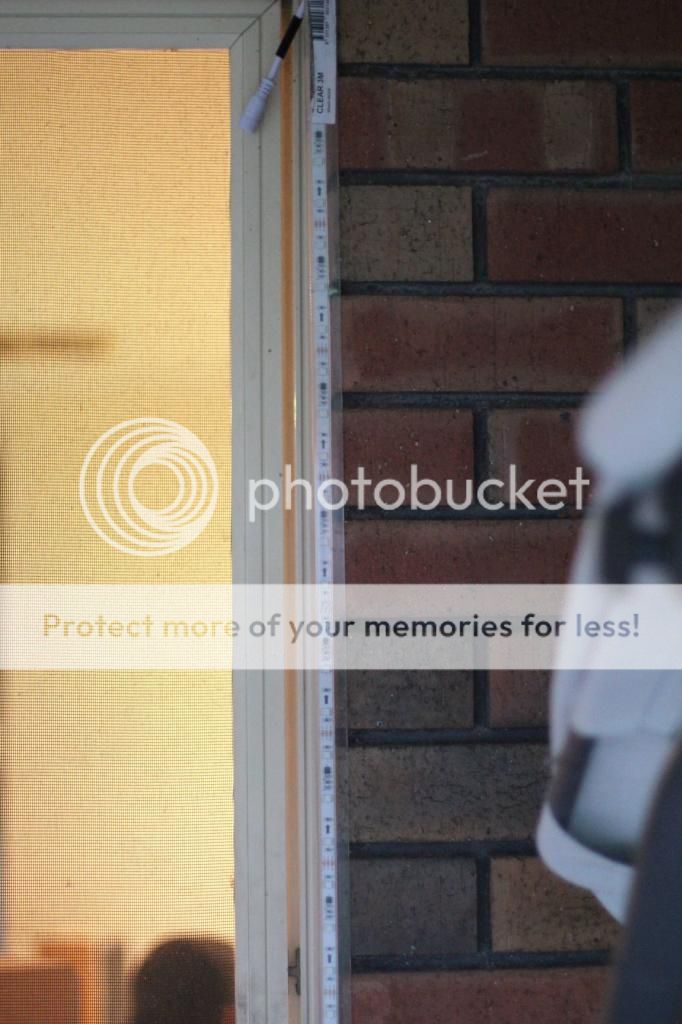
Tuppet and I mounted our RGB strips today. The endcap was still installed from last year so simply slip into the slot and all done in 1-2 hours. Oh they are nice 8)
Follow along with the video below to see how to install our site as a web app on your home screen.
Note: This feature may not be available in some browsers.

")
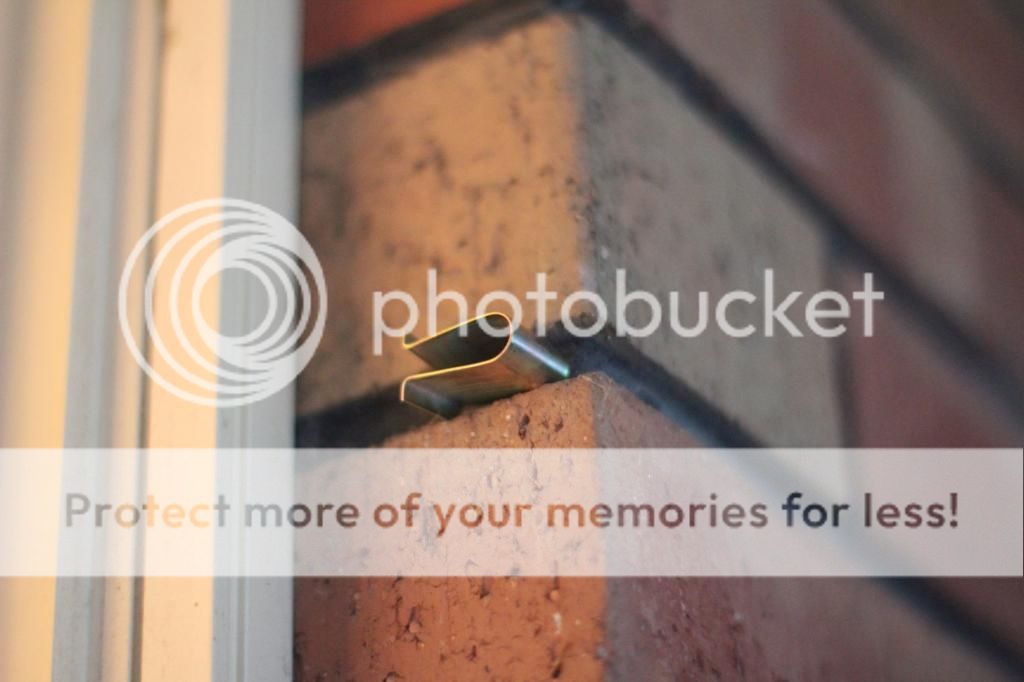


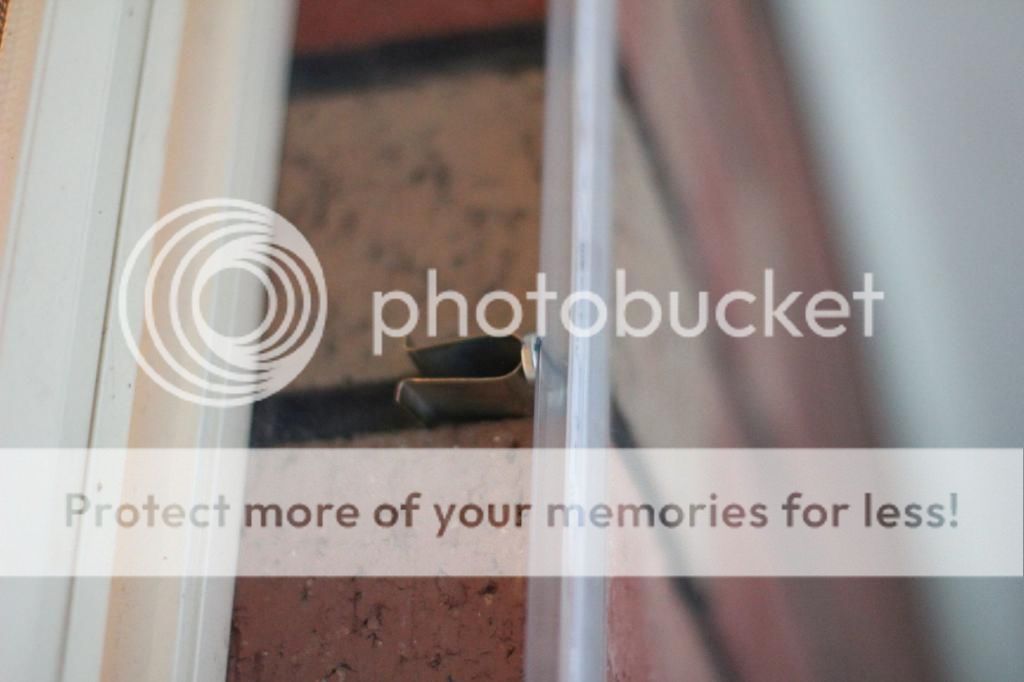
anon said:Brick clips:

The are cheaper than when I bought mine originally, but still expensive for what they are. I'm sure some tin snips and bending of corrugated iron would provide a similar result.
Regrettably discontinued due to price increase
I think someone suggested them in chat,David_AVD said:Still haven't located these brick clips. If anyone see them online or in-store, please give me a shout.


ShellNZ said:Hands up who thinks its safe enough to take the strip off after the season and roll it back up? Not on the actual spindle it came on (biffed them) but just in a relatively loose bundle in a bag.