How I build my boxes

AAH

I love blinky lights :)
Community project designer
Joined
Dec 27, 2010
Messages
4,188
Location
Eaglehawk
I just thought that I would show how I bang together a controller enclosure. I have almost universally used cheap and nasty $3 to $5 boxes. To prevent water ingress into boxes I bag them in 20kg dog food bags. In all the years of putting up lights (2004-2013) I've never had a drop of water get into a box so the method has proved successful. In almost all of the cases I have the enclosures mounted on a pole and that slips over length of 1/2" rod driven into the lawn. You can see some of the older boxes and mounting arrangements at https://auschristmaslighting.com/threads/my-2011-blinky-lights.1617/
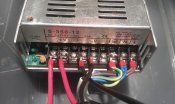
PowerSupply.jpg
All the connections to the power supply I use bootlace ferrules and I always insert the ferrule on the side of the clamp so that the screw has a tendency to pull in the ferrules as it contacts the screw.
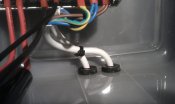
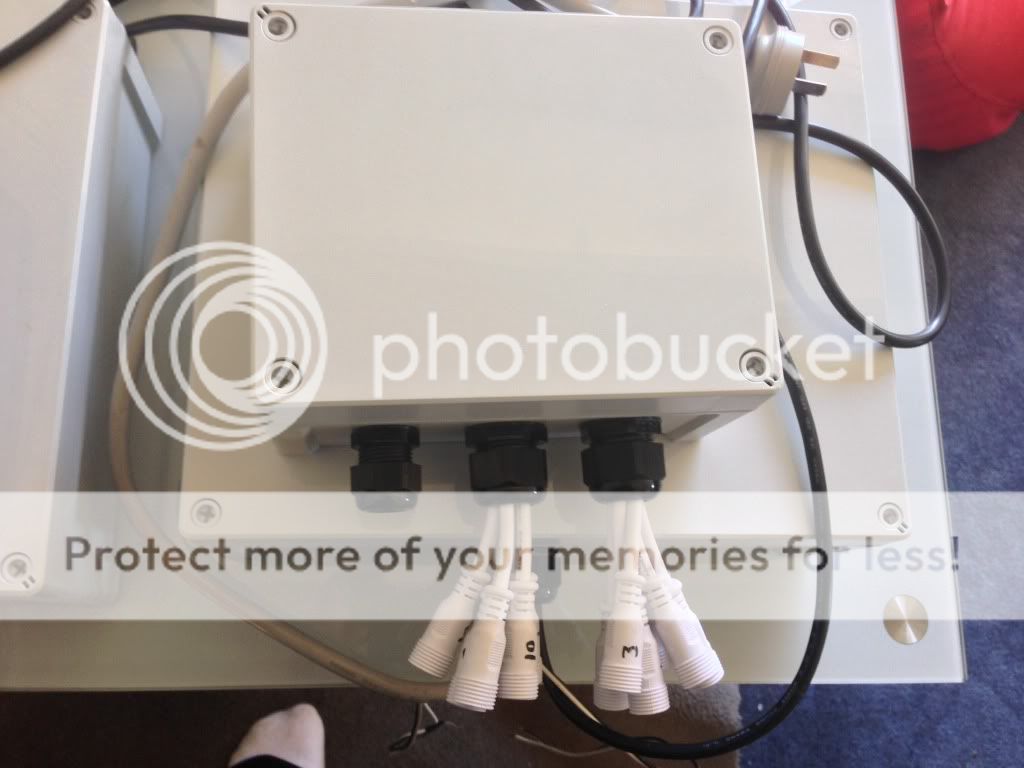
MainsEntry.jpg
The mains cable is the only time I use cable glands and I use them for their clamping feature rather than their sealing ability. I also cable tie the 2 wires together.
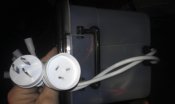
LoopInOut.jpg
I also always have a loop in and loop out of the mains cable so that I can daisy chain from 1 controller to the next with the mains power.
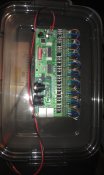
BoardMounted.jpg
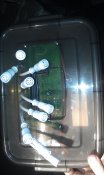
I changed to mounting the boards on the lid of boxes in 2013 as it made it easier to fit off the board and provides easier access than when the board is mounted on the back of the box. Since 2012 I now fit Ray Wu plugs to all the boards as it's quicker for fitting up and pulling down the display. All the cables have a cable tie around them to prevent the wires being pulled out. When I use 2 wire rather than 4 wire connectors I common the 3 +ve connections from the connectors to the +ve on the board with a bootlace ferrule. The rest of the time I tend to use the soldered wires as standard on the Ray Wu connectors.
Outside.jpg
The connectors enter through fairly tightly fitted holes which are positioned such that if the wire did get wet the wire actually is fitted off "uphill" from the hole. The holes for 4 wire connectors works out at about 6mm.
 

AAH

I love blinky lights :)
Community project designer
Joined
Dec 27, 2010
Messages
4,188
Location
Eaglehawk
Since 2013 I have also changed the way I mounted the power supplies so that it uses the inbuilt fan. The fan sucks air in through a bullnose cable entry which is used for the dmx in and out.
Ventillation.jpg
Mounting the power supply this way means that all of the hot air the power supply produces is vented outside of the box and by mounting the power supply "backwards" the mains terminals are pretty well covered.

The method shown above is slightly different to what I normally use as this box is going to get banged around in transit a bit. I used rootnuts fitted to the power supply metalwork after cracking open the power supply and making sure that where the mounting screws would end up. I would usually mount using 1 of the mounting screws for the fan.
 

davrus

Silent elf
Joined
Jan 9, 2014
Messages
168
Location
Whitianga
Thanks.


I am at the stage where my next problem is to deal with enclosures. The info in your posting helps me considerably.


Plastic enclosures and dog food bags... yes, that will work. I had been thinking of party ice bags, but they are not quite big enough.
 

SmartAlecLights

Im a SmartAlec what can i say!
Community project designer
Joined
May 4, 2010
Messages
1,533
Location
Murray Bridge, S.A.
this is still my most fav way of housing slim controllers

IMG_0310.jpg


the PVC drainpipe with end caps..
totaly waterproof.. an under $8
 

benzor84

Apprentice elf
Joined
Feb 28, 2014
Messages
53
Location
Sydney
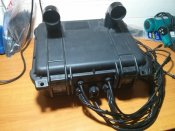
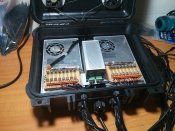
IMG_20140721_003157.jpg IMG_20140721_003207.jpg
This is the first of my 3 outdoor boxes. (I'm lucky as i can run most things from inside on my house.)
This box runs my 2d mega tree and star. It has 2 Mean well 5v suppliers and one cheap china 12v 6A supply ,under the p2 (used for running the fans)

I made the fuse boards myself however I will not be doing this again as it is expensive and time consuming.
The box is a super cheap version of a pelican case (around $35 aud)
I have tested them and they are fully waterproof. The box also has a spot for a padlock/ cable tie to keep people out.
 

davrus

Silent elf
Joined
Jan 9, 2014
Messages
168
Location
Whitianga
benzor84 said:
The box is a super cheap version of a pelican case (around $35 aud)
I have tested them and they are fully waterproof. The box also has a spot for a padlock/ cable tie to keep people out.


How have you fixed the equipment inside the case ?


Why the extra fans, when your outlets are positioned directly above the power supply fans ?
 

gerry

Senior elf
Joined
Dec 19, 2012
Messages
855
Location
Surrey Hills,Melbourne
Hi Alan

Thanks for posting these and the detailed instructions.
Most useful for someone starting out. At the minis , I have been trying to pay close attendtion to these , but the commentary above is most useful.

BTW - Masters have those boxes (referred to in earlier posts) in their stores again - $11 each.
 

BundyRoy

Dedicated elf
Joined
Apr 9, 2014
Messages
1,026
Alan, thanks for sharing your setup. What sort of connectors are the ones on the wires going to the input power connections (red and black wires) on the board. They sort of look like bullet connectors. Do they need to be a certain size to fit in the boards screw clamp connections.

I tried to quote the picture but it didn't work. The fourth picture you attached shows the wires I'm referring to.
 

BundyRoy

Dedicated elf
Joined
Apr 9, 2014
Messages
1,026
Thanks David. I didn't look hard enough at the PSU connections. I assumed the PSU connections were the forked type but they are all bootlace ferrules.

Is the tool required just a crimping tool.

Edit. I'm too slow. I see it's a special crimping tool. Thanks
 

AAH

I love blinky lights :)
Community project designer
Joined
Dec 27, 2010
Messages
4,188
Location
Eaglehawk
I buy my ferrules from Altronics in bulk packs of a 1000 and I use a few different sizes in both single wire and dual wire sizes.
I've never used the style that David likes. I use a ratcheting style that cost a small fortune many years ago and has crimped maybe as many as 50,000 so far. Someone in chat popped a link up that was to an Aliexpress supplier of boxes I think. I trawled on from there and found that they have some of the cheapest crimpers and strippers I've seen. I have no idea what the quality is like but the prices are amazing.
http://www.aliexpress.com/store/group/Crimping-pliers/619076_255390739.html

The style I use is
4c2c6b0e65341_160791350200.jpg
 
Top