Dave_Szoka
Full time elf
These are know as Truecon.Ahh, that makes it much more obvious. Good work!
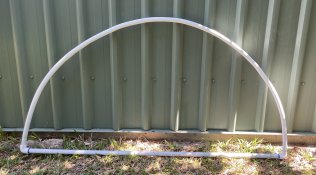
They look like half decent connectors. Be curious to know how well they stand up in the weather.
They are the weather proof version of powercon
I brought these china-con ( pun on words) so far they have been great
also got these RJ45 connectors form the same supplier


")